08 Apr Easter Project
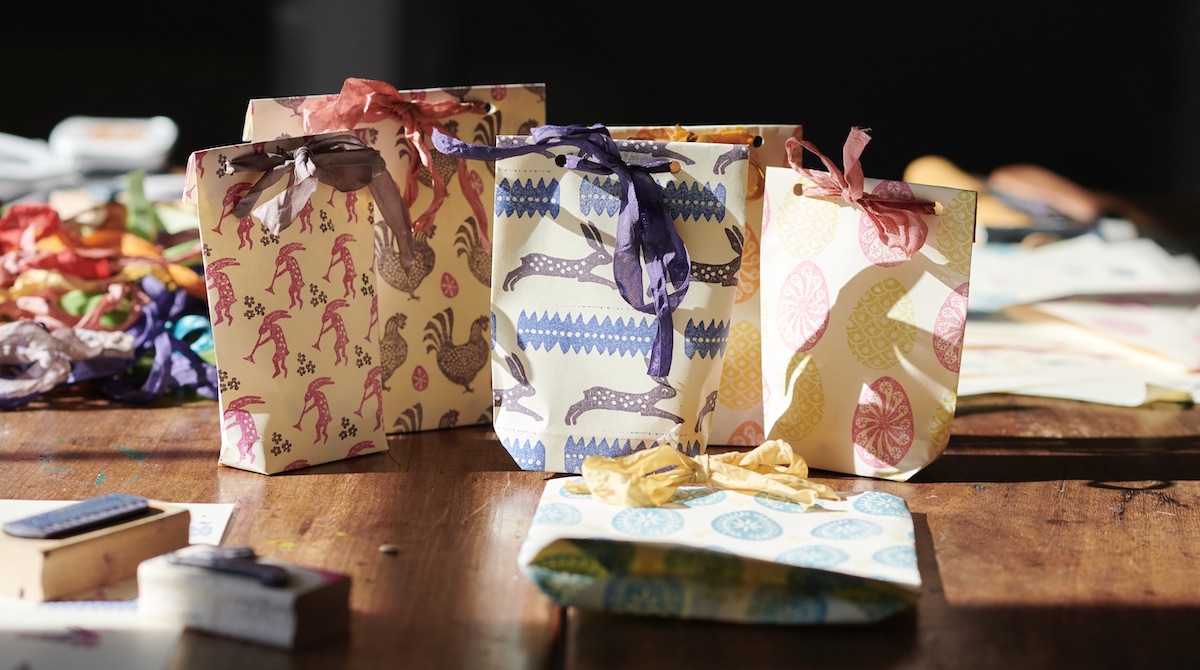
Spring has arrived, and a spring of the very best sort: cold, clear and sunny. It’s been very dry here—good for us ordinary mortals who got a bit water-logged during the winter, bad for farmers—and everything is held back by it. Leaves are only just coming onto the trees—but when they do, it’s in a rush. If you water a promising looking shoot in the garden, next day it’s a foot tall. Vegetable growth is astonishing and mysterious. So swift and silent. Birds are all going about their spring business with much chat and furious industry, hauling beakfuls of dry grass and twigs and fluff about and somehow —without hands— making entirely perfect secret nests which we will discover and marvel at in the autumn, when cutting back the ivy. At this time of year one feels a great need to be in on the business of creation, and this year we are satisfying that need through making these Easter bags, the elementary secrets of which we share with you here.
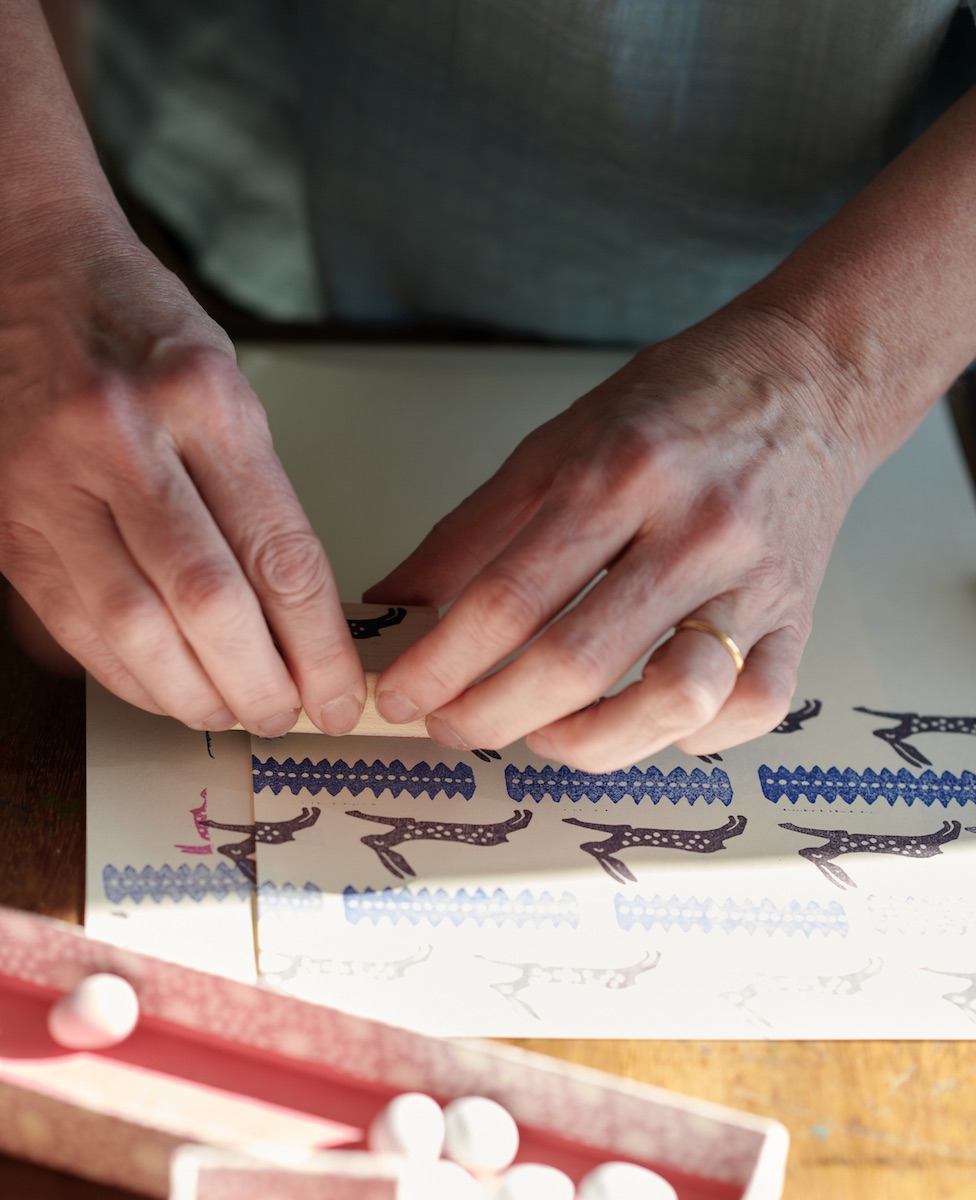
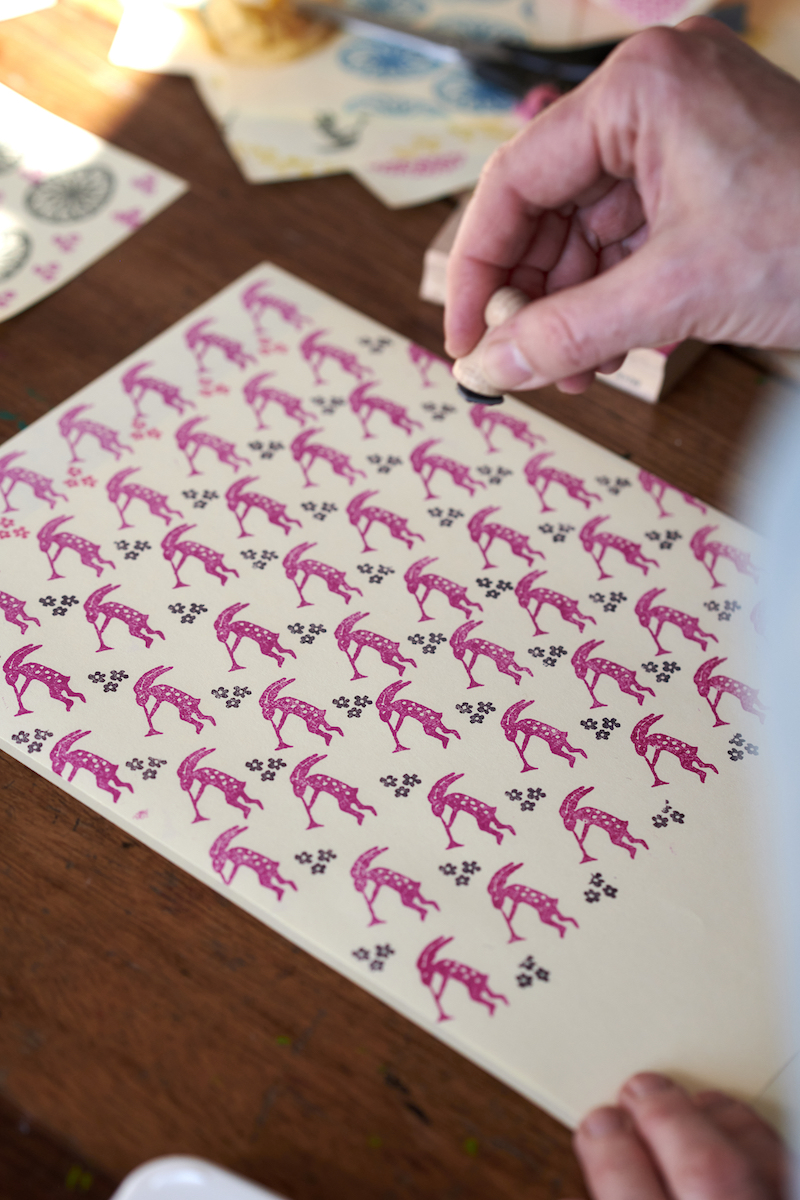
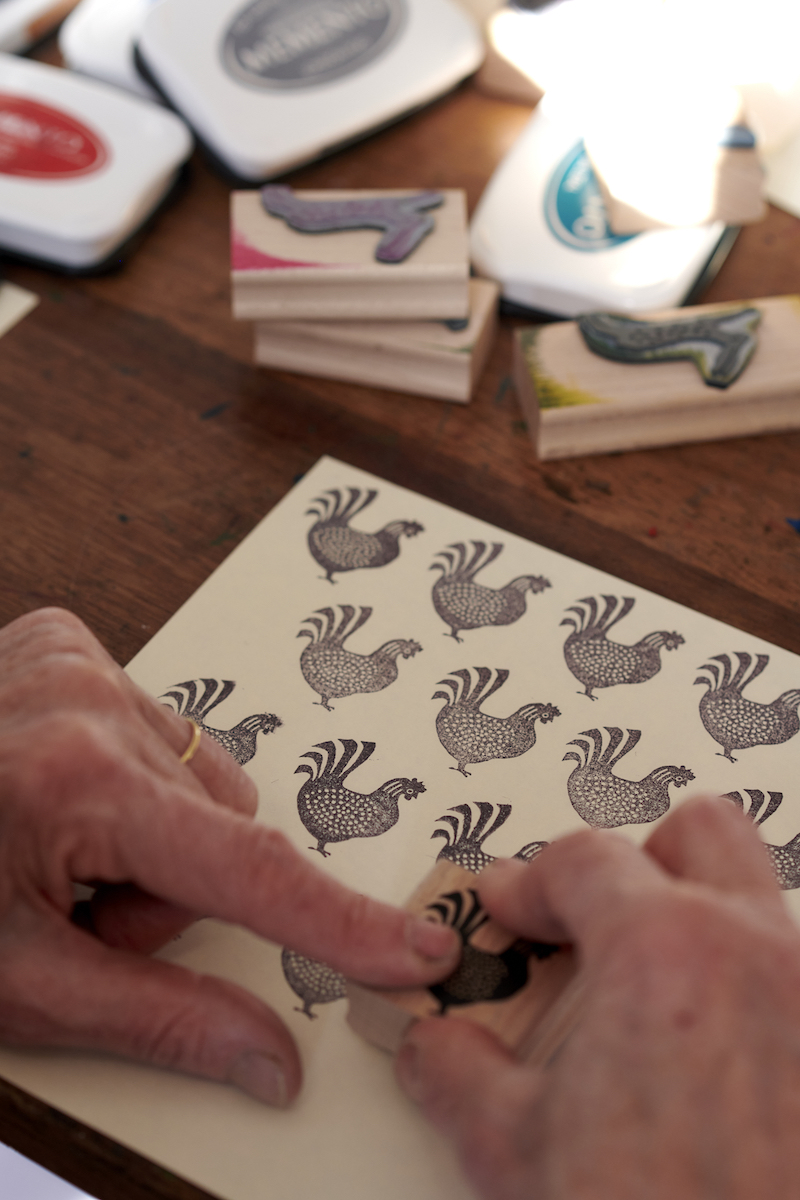
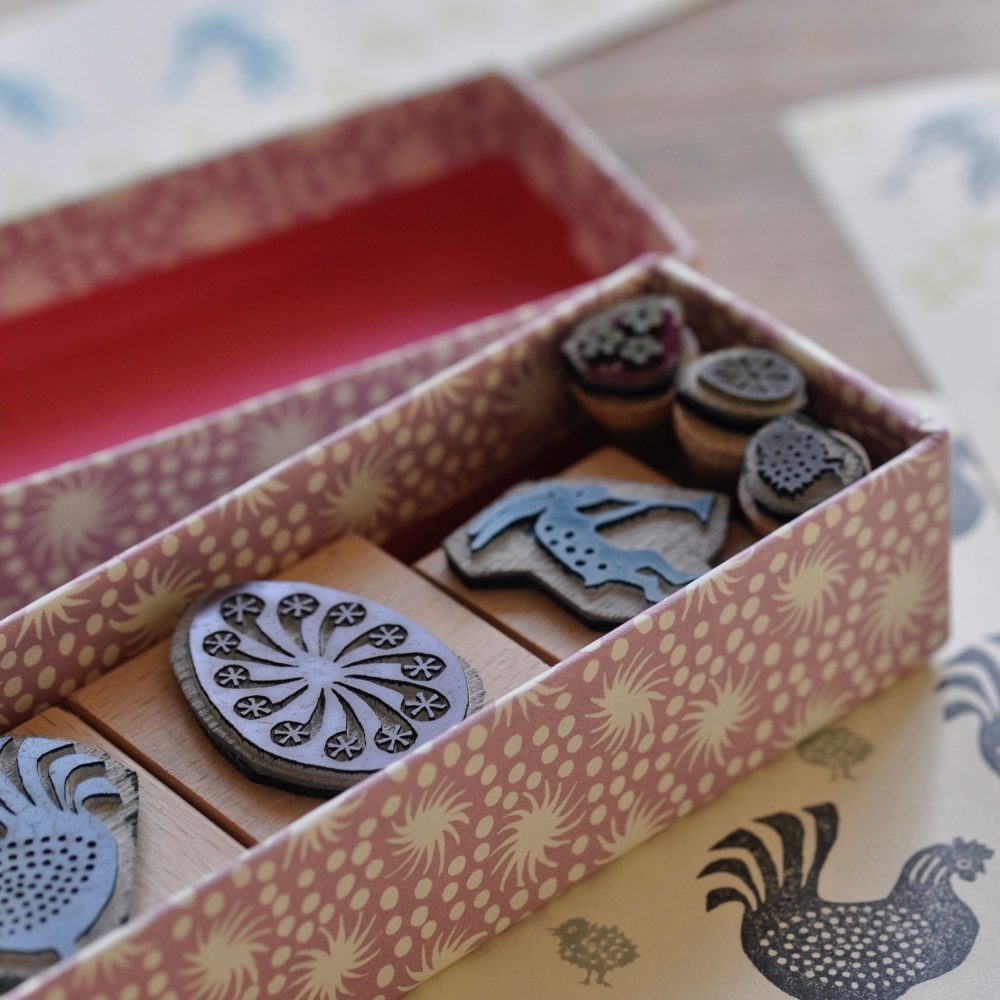
We have been block-printing sheets of fairly ordinary copier paper (‘fairly’ ordinary because it’s actually a warm creamy colour rather than bright white—a crucial improvement, which does make it a little more expensive). We’re using our own Easter printing blocks, but potato prints would also be very nice. A well-chosen potato can be egg-shaped in cross section. Nothing too ambitious about the pattern: just a simple repeat in one or two colours, and no need to be too careful about the spacing.
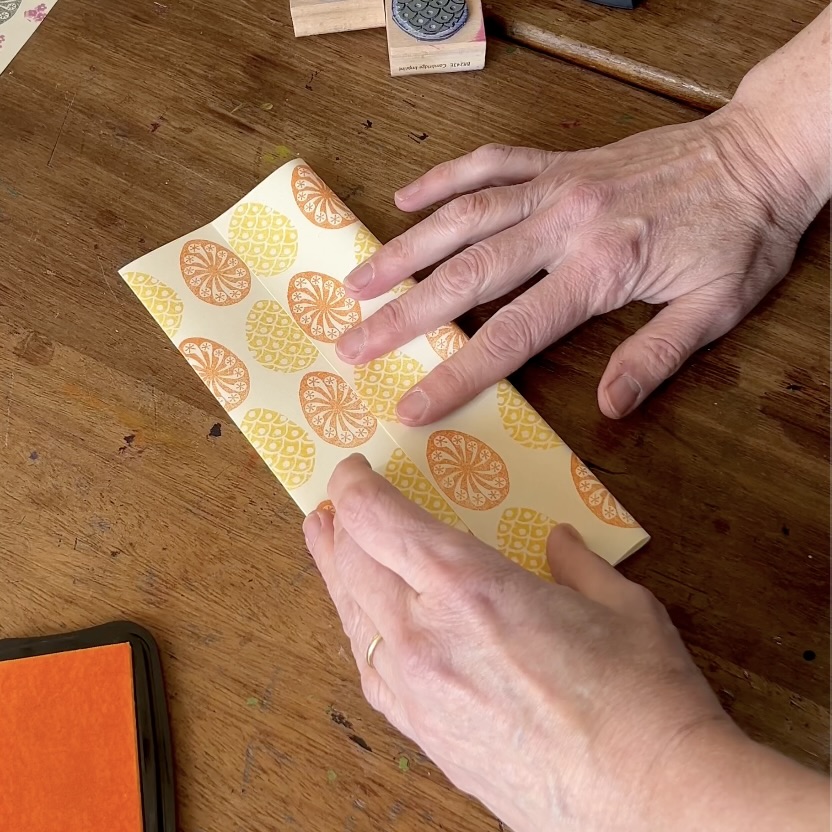
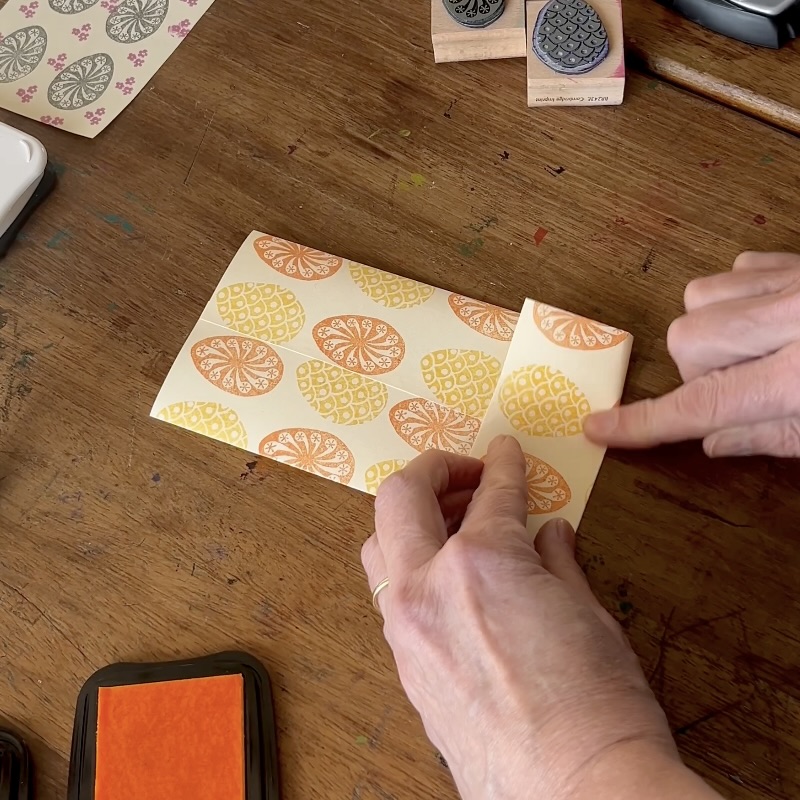
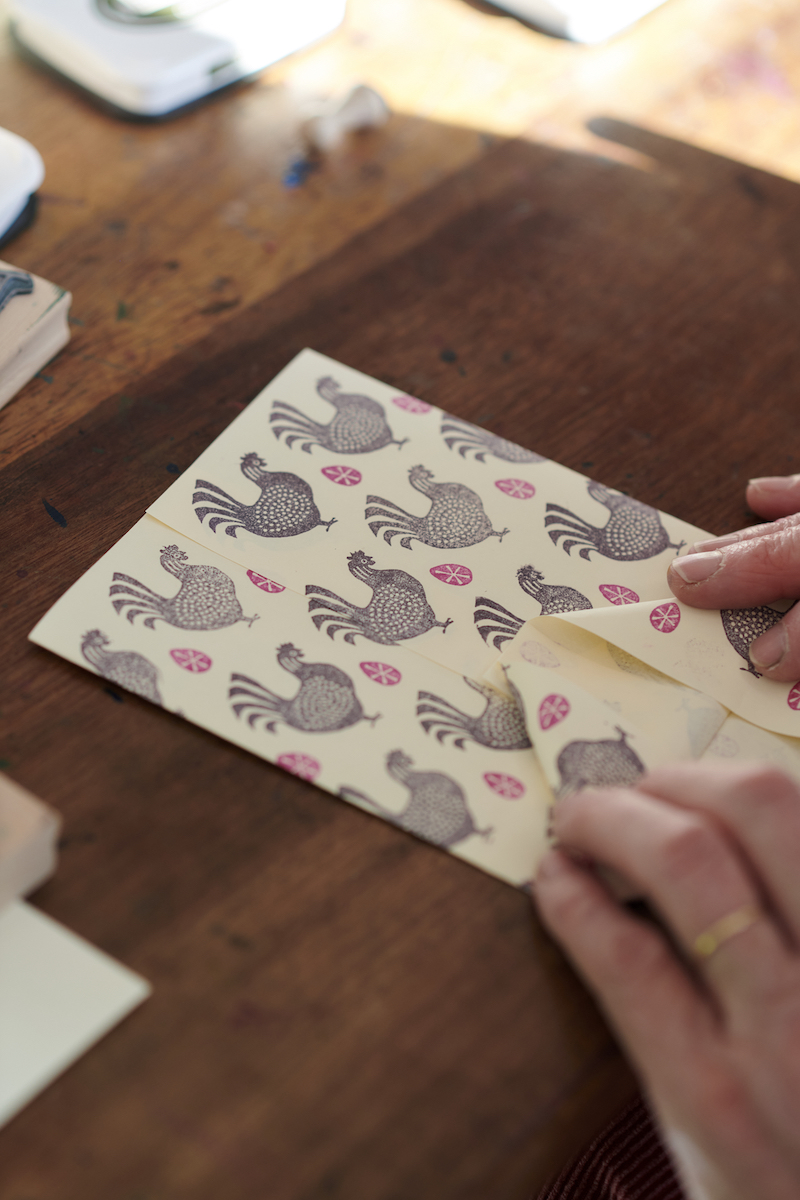
Once the sheet of paper is printed, the bag-making can begin. For this you will need glue, a hole-punch, and some ribbon. Start off by turning the sheet of printed paper over, pattern-side down, and one by one folding the two sides over to meet and slightly overlap in the middle. Glue the two sides together along the overlap, to make a sort of flat tube.
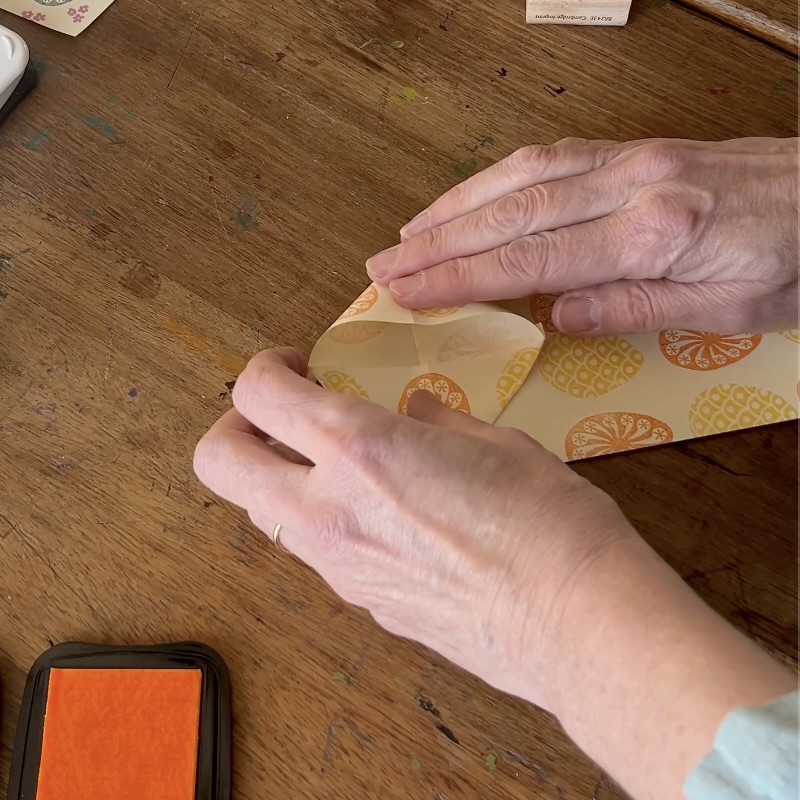
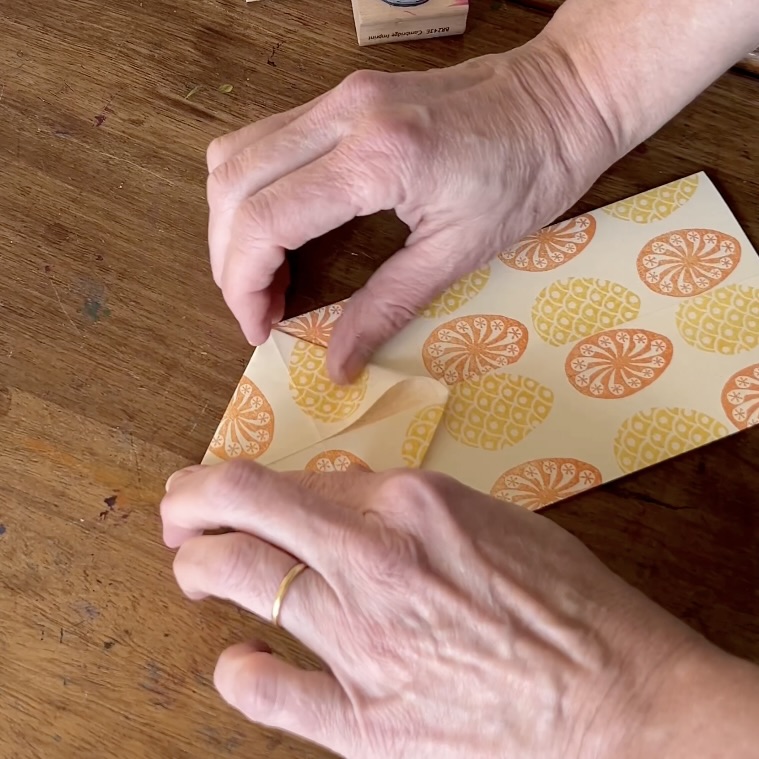
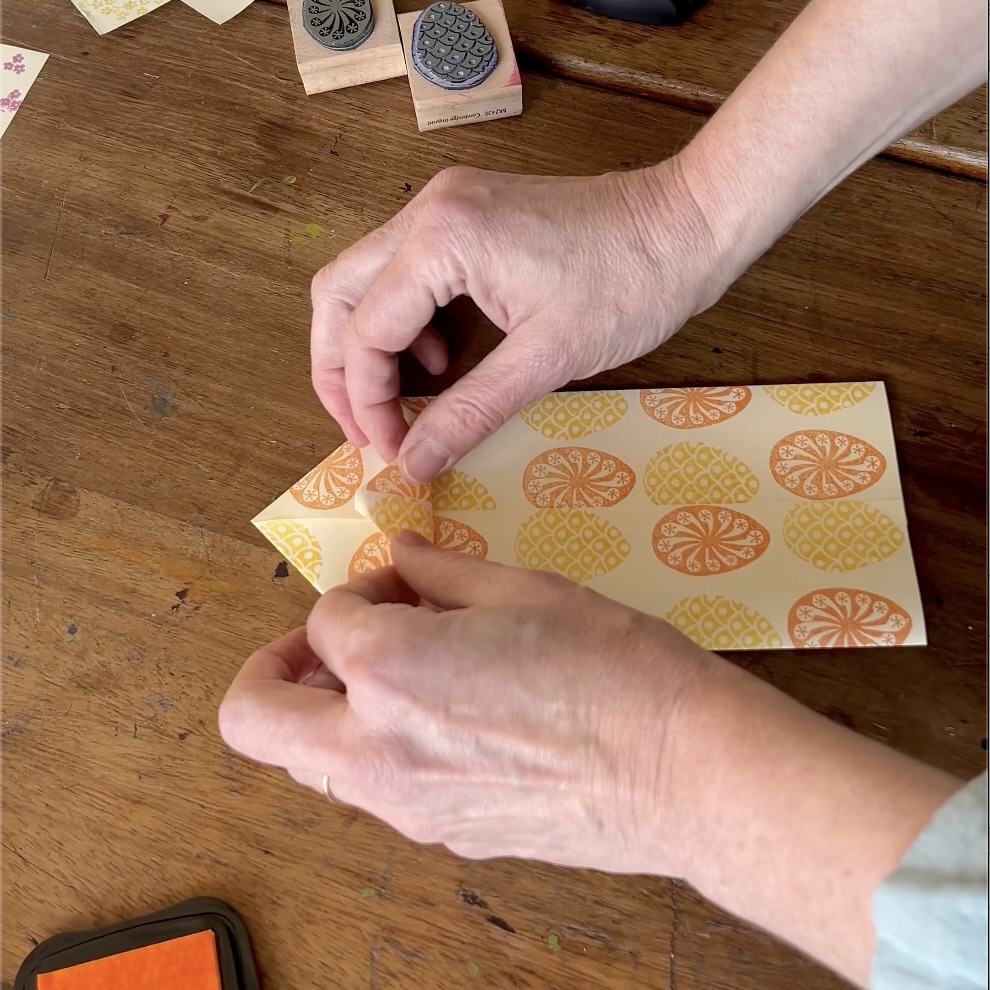
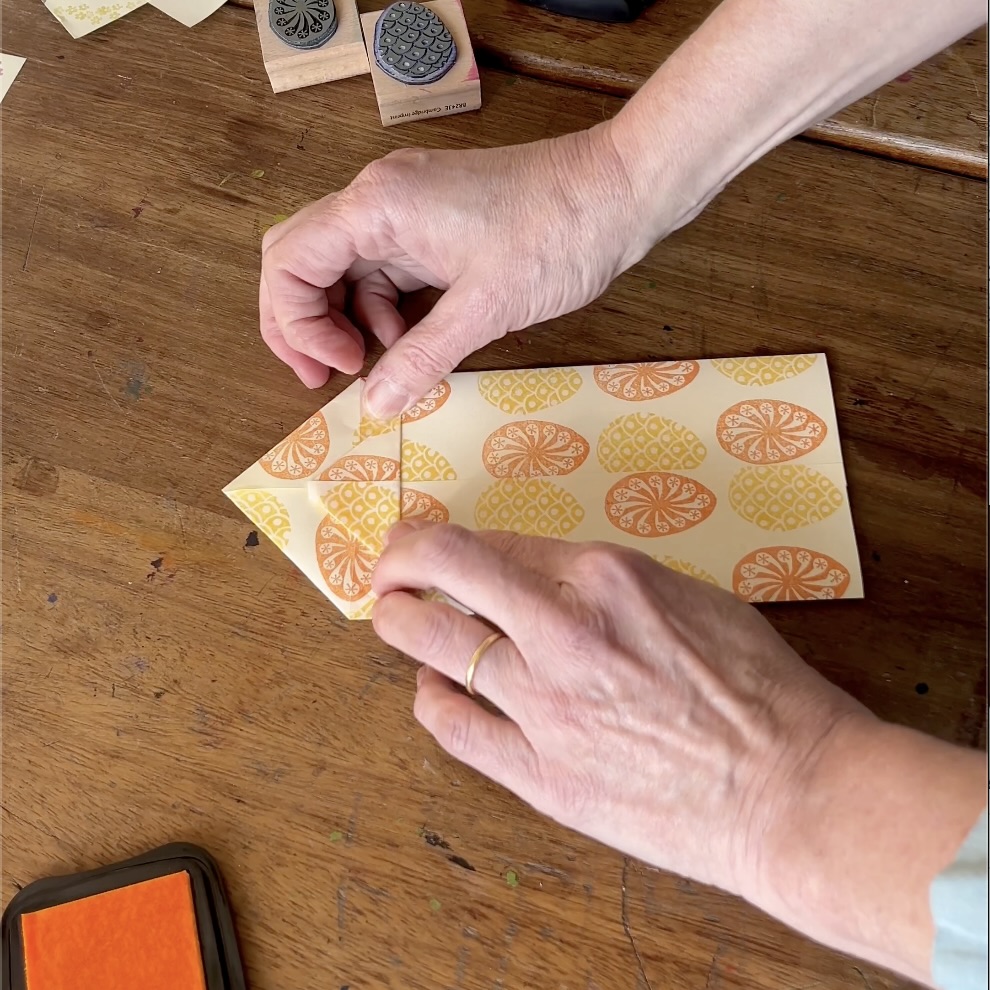
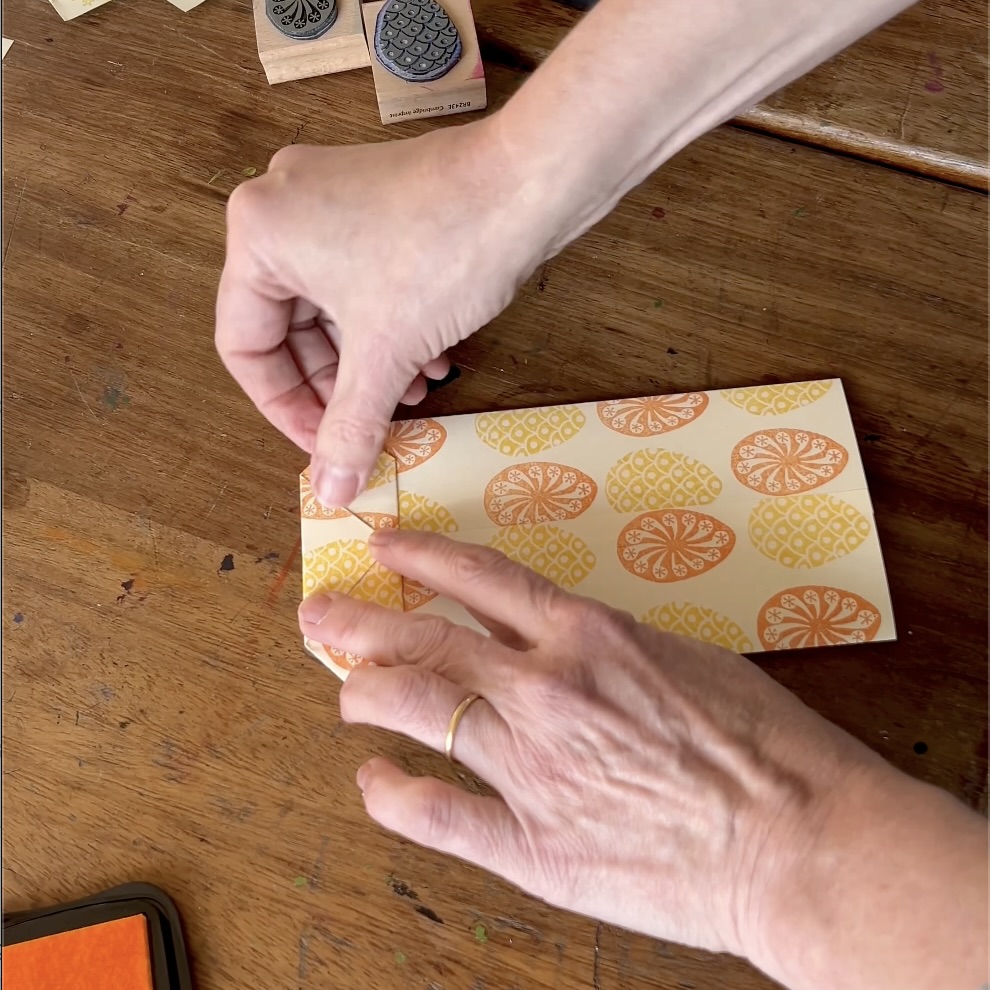
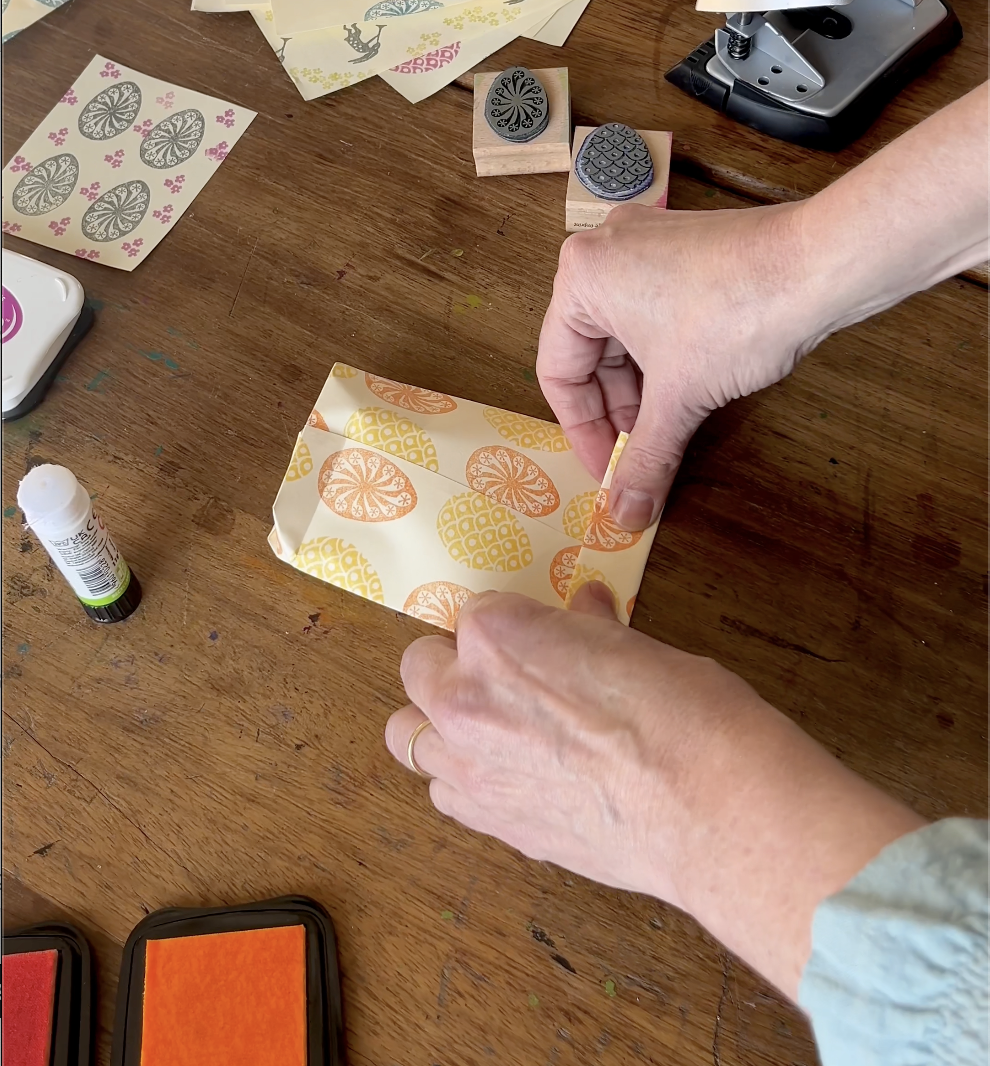
Now fold up the bottom of that flat tube. The bigger the fold you make at this point, the squarer the block-bottom of the bag will be. Firmly iron the fold in with your finger, then open out the folded section and flatten it to form a diamond shape.
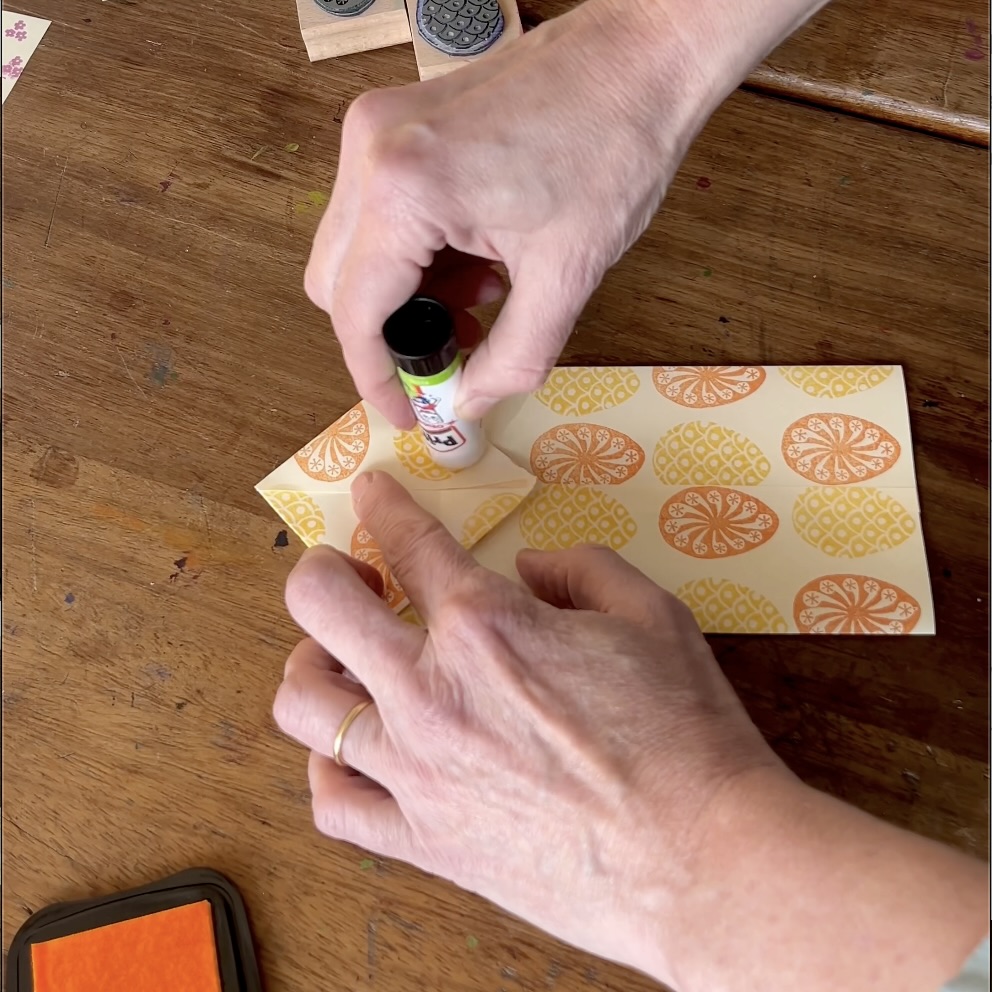
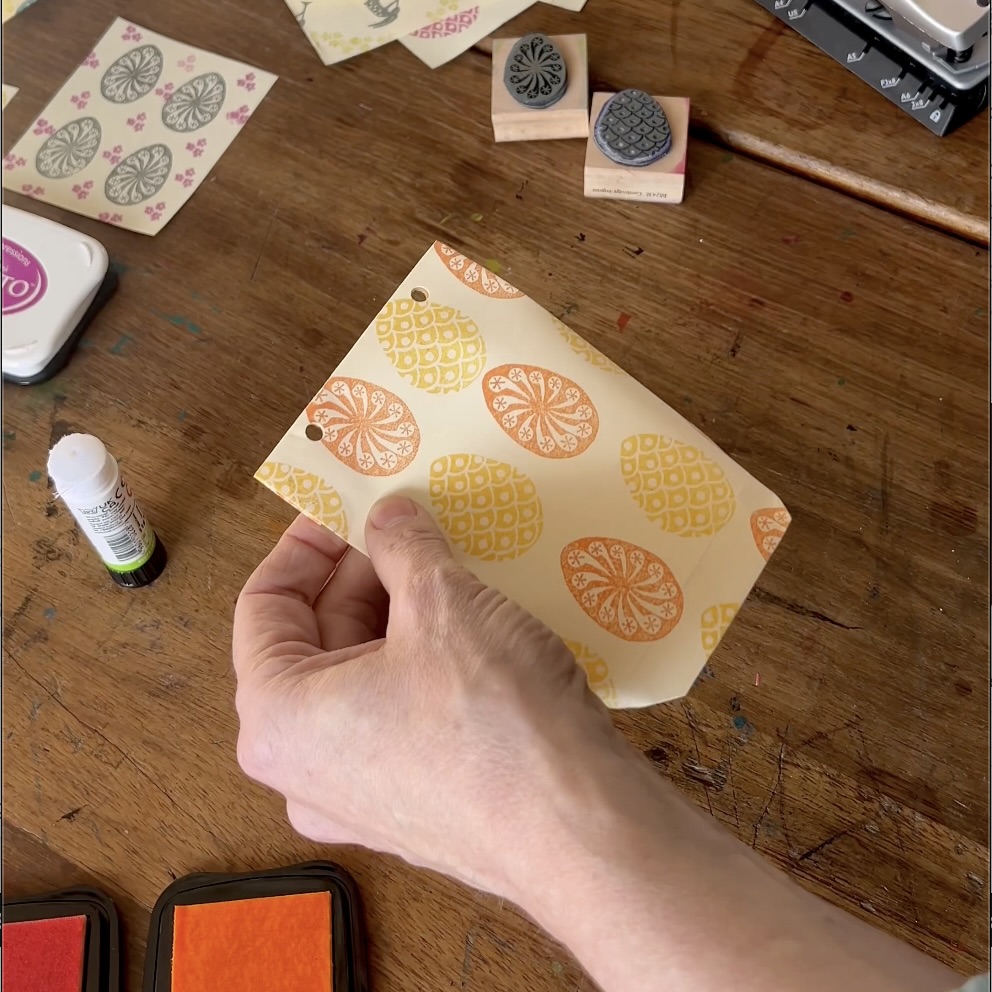
Now fold over the two opposing points of the diamond shape you have just created, so that they overlap one another, and glue them down.
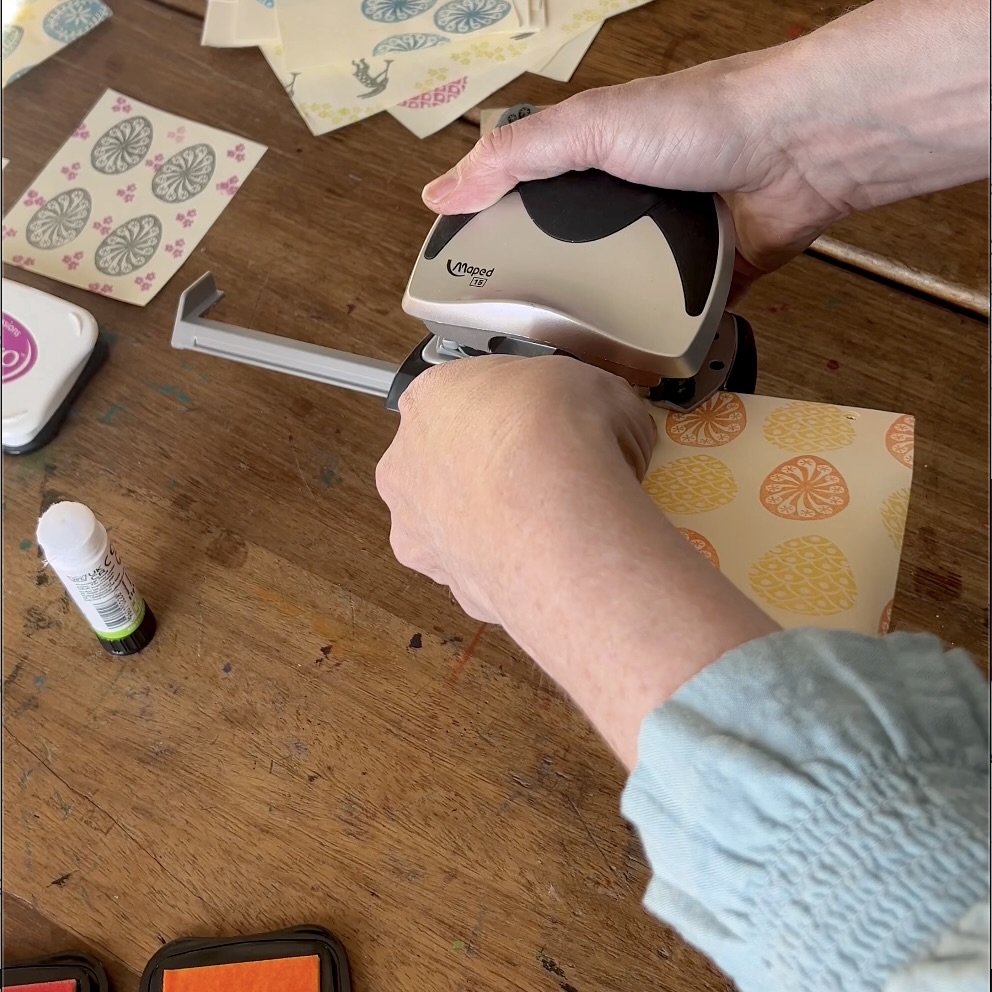
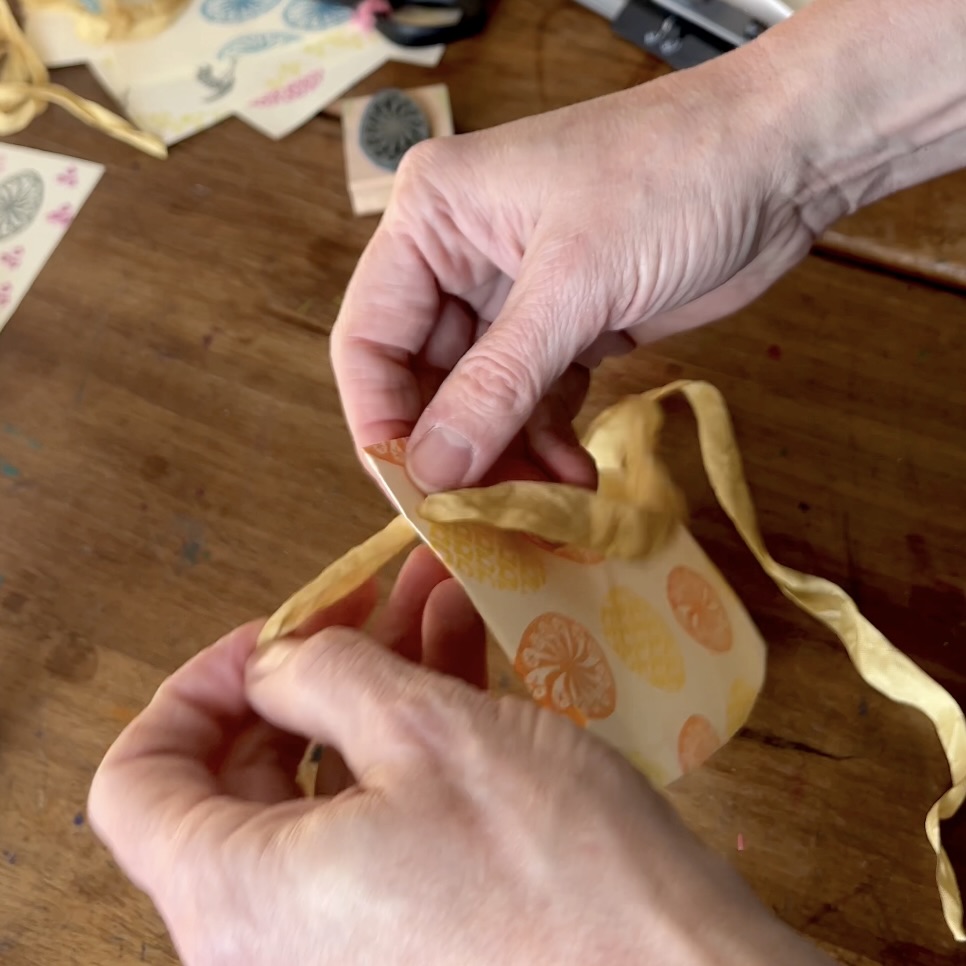
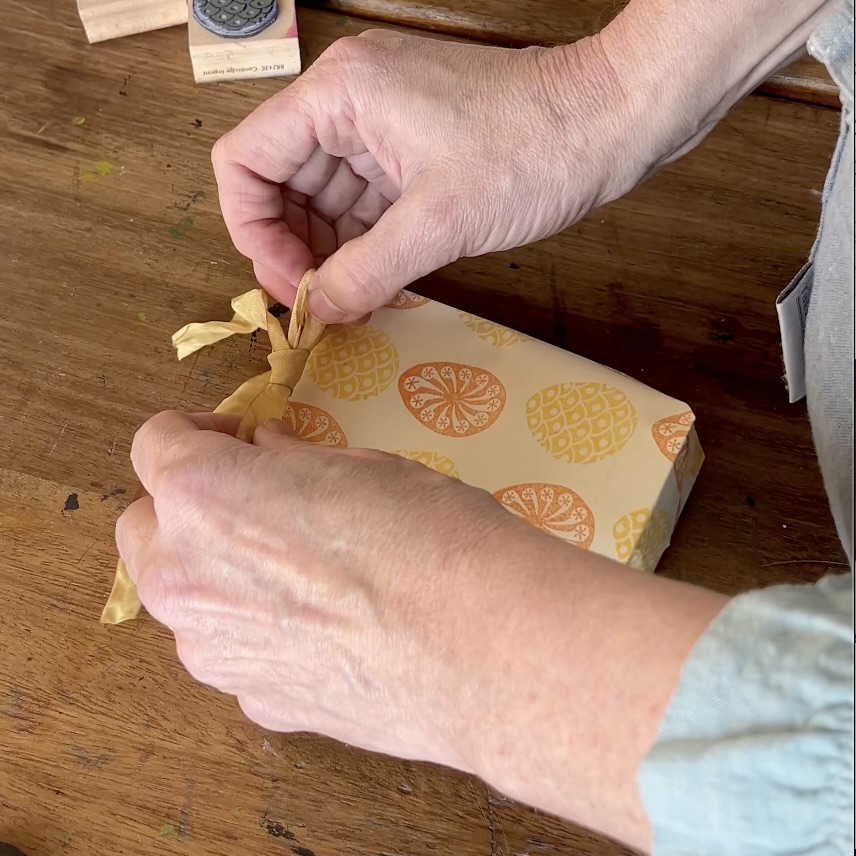
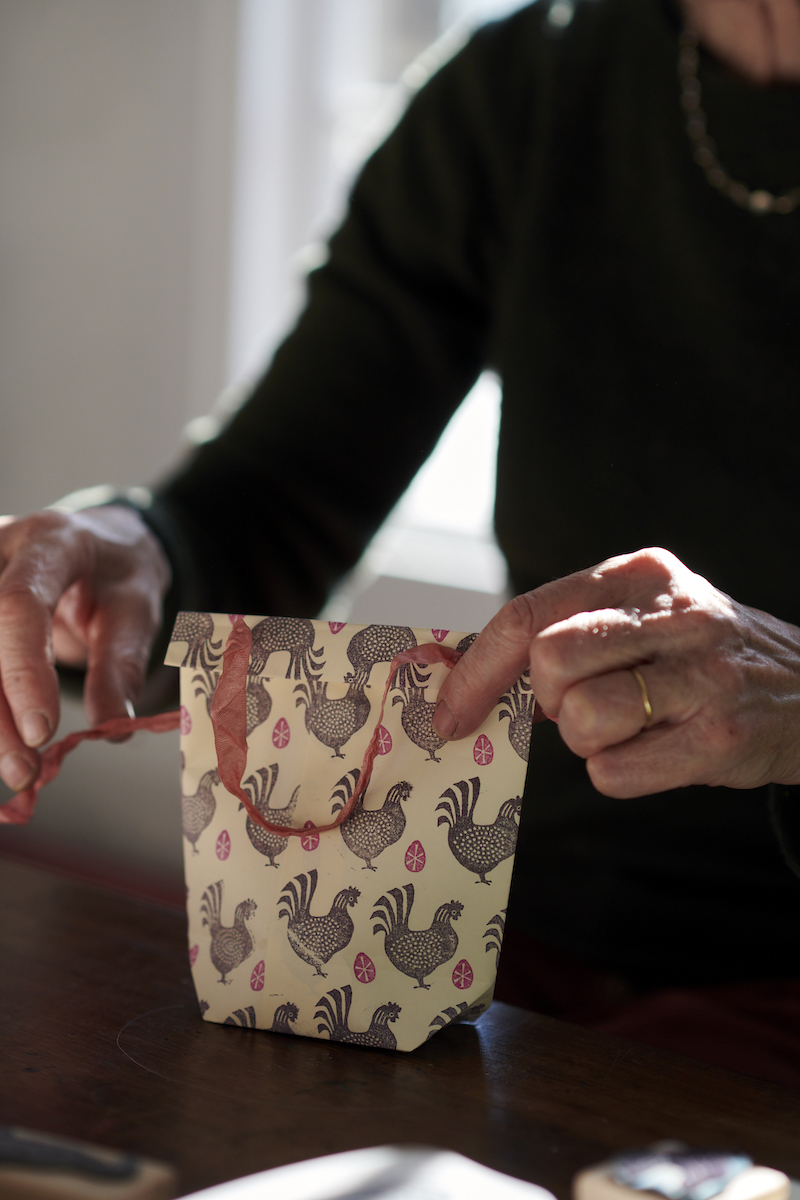
Now you have a little bag with a gusset (excellent word — too little used) which can be filled with, for example, bought mini Easter eggs or even, if your creative juices are still flowing, biscuits of your own manufacture. To finish, fold over the top once or twice, make a pair of symmetrical holes using a hole punch, and thread with judiciously chosen ribbon.
Tie the ribbon in a bow.
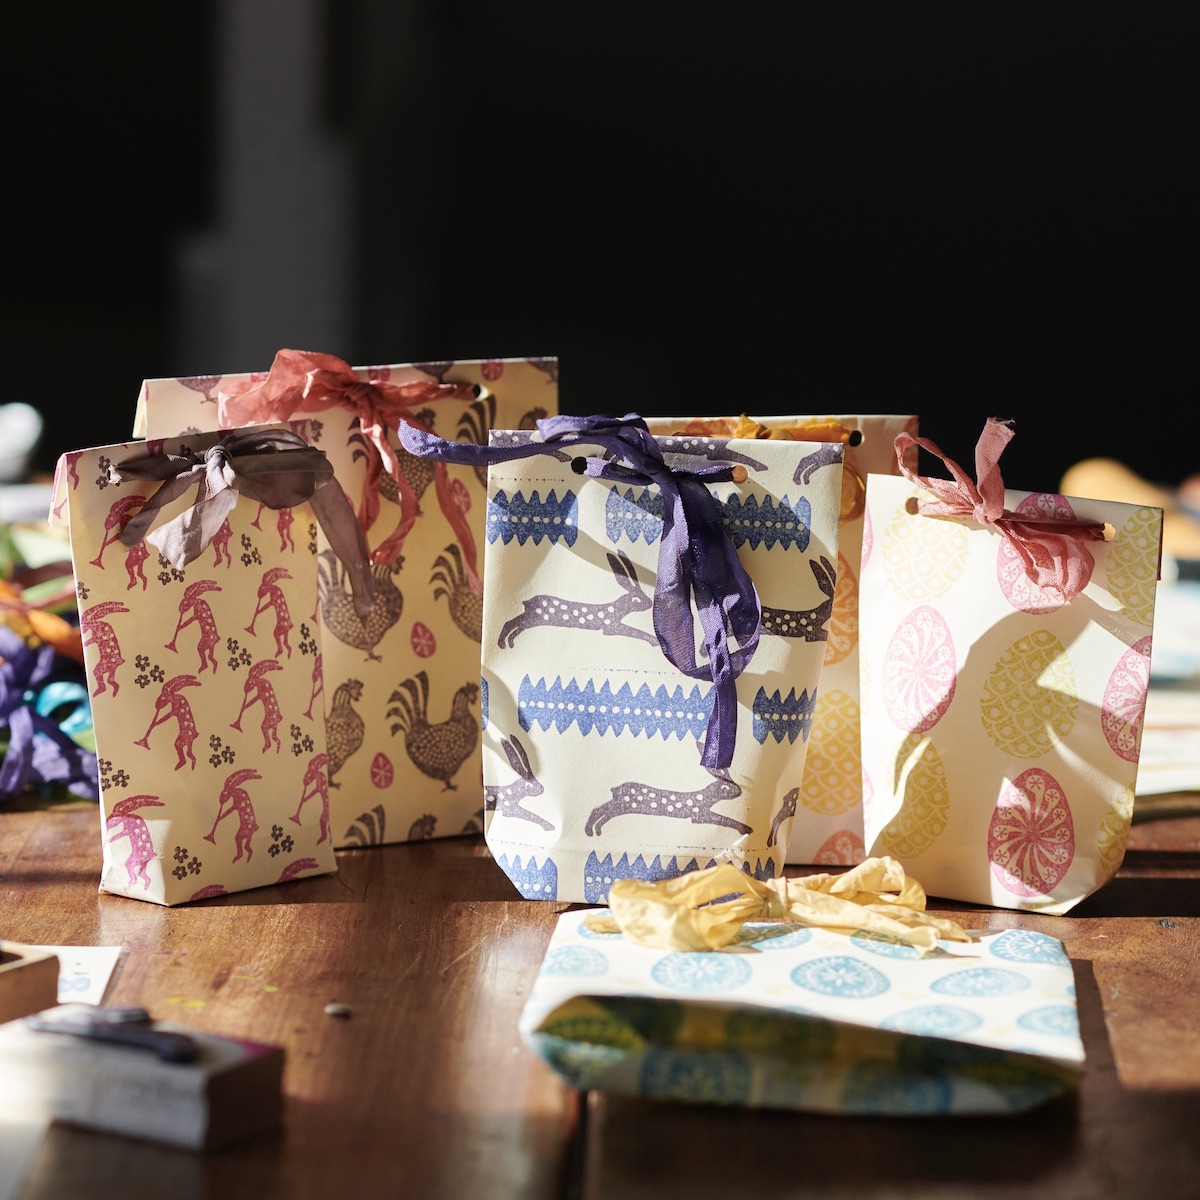
That’s it. Repeat with variations.
If these written instructions are a little hard to follow, we have made a short video, and you can find it on our ‘How To’ page, or by clicking on any of the images in this post.
We’ve printed our own paper but this could be nice with any other patterned paper, coloured paper, or even newspaper. (It’s a trick that’s worth remembering at other times of year, if wrapping an awkwardly-shaped present. Instead of labouring unhappily with the sellotape, just make a bag…) On the other hand, if you like the Easter printing blocks shown here, we do have a few sets left, and the pretty ribbons are also in stock.
